
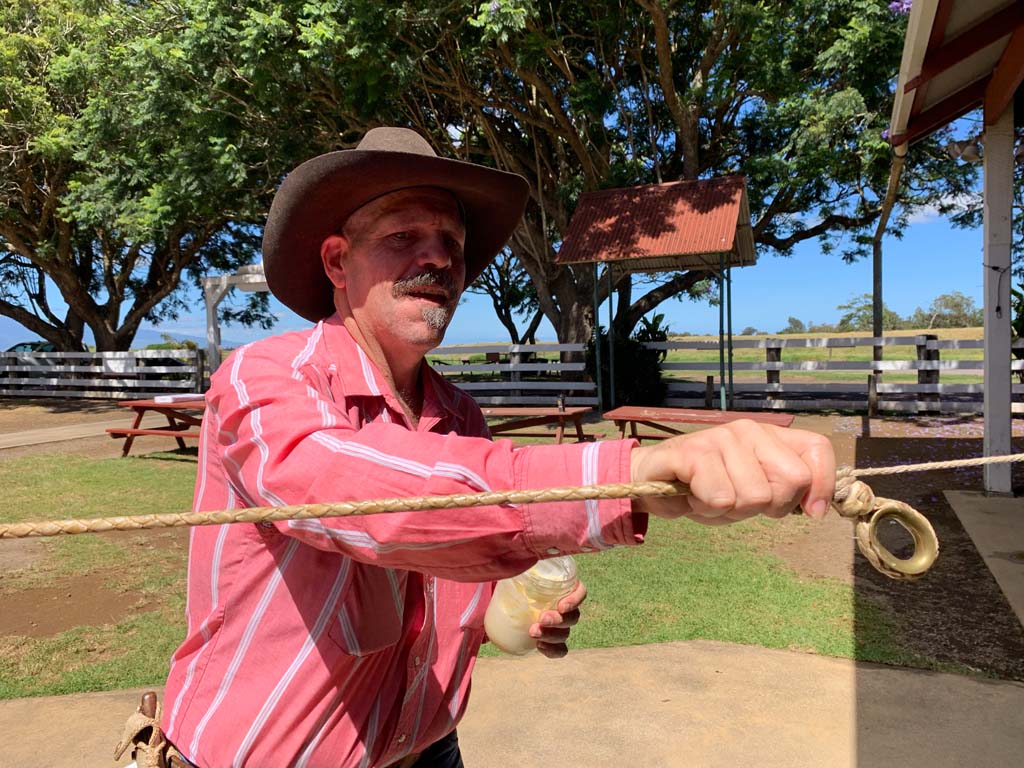
Earlier this year Paniolo Preservation Society General Manager Bill Ferreira came up with a way to visually bring the story of the Paniolo to life through the making of a Kaula Ili, from hide to finish. Not for decades has this been done at Pukalani Stables, and we are honored to be able to share a bit of this history with you.
Processing the Hide
Below you will find the story and photos behind the tradition, behind the art of making a rope that is so treasured, not only by tried and true working paniolo, but also by those who have a deep-seated appreciation of what makes the Paniolo so unique. Today, very few Paniolo are using a Kaula Ili. And why is that? Some may say it is an artform that is slowly disappearing, some say it is because it is labor intensive. Regardless of the reason, we are pleased to see this tradition is still alive and well here at Paniolo Preservation Society.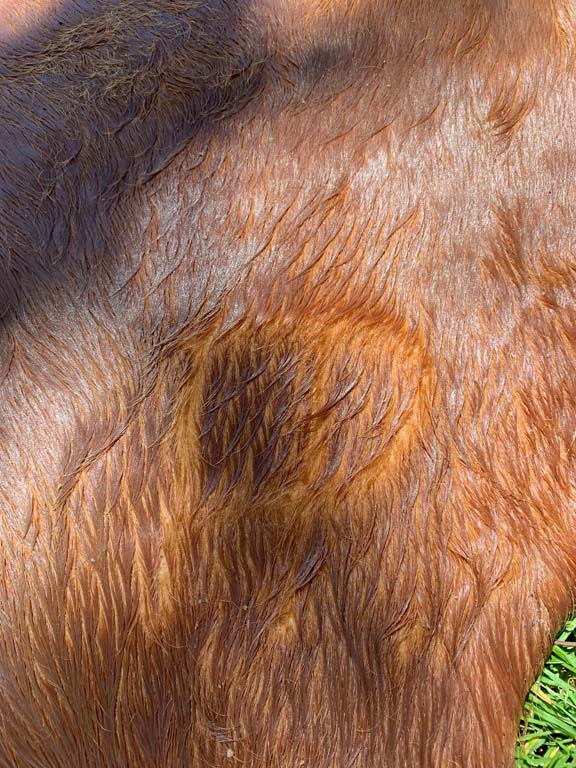

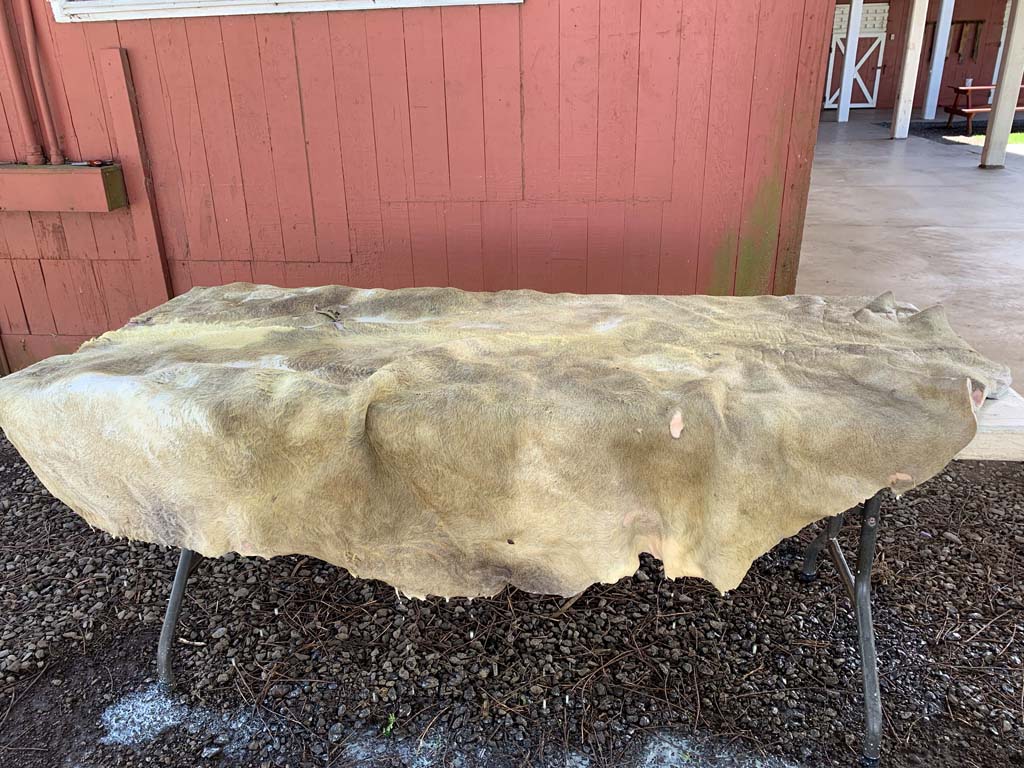


This hide is a Charolais Cross. The type of hide isn’t as important as what the hide is telling us. Looking closely at the imperfections (brands, scar tissue from barbed wire, knife cuts, etc.) will help determine the best hide to use. The hide will also determine the length of the rope as the rope will be cut using a circular motion into one continuous strand that will then be cut into smaller strands for braiding (six strands is ideal, but four is okay too, again, the hide will determine what we end up with).
A paniolo style of rope is shorter than a typical rope, usually around 40-50 feet. The hide that we are working with is from a steer weighing about 1100 lbs.
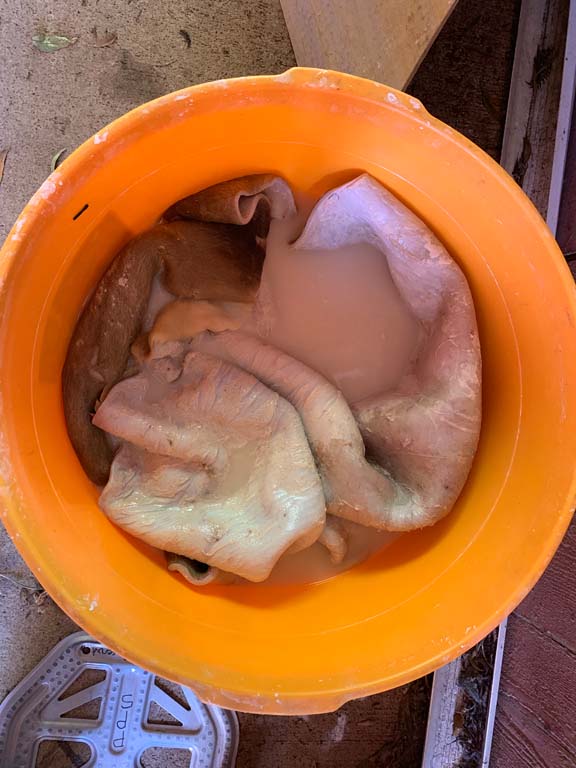
Once the hide is trimmed of imperfections, it is placed into a lime bath. Bill uses the “Vaquero style” which is curing without salt.
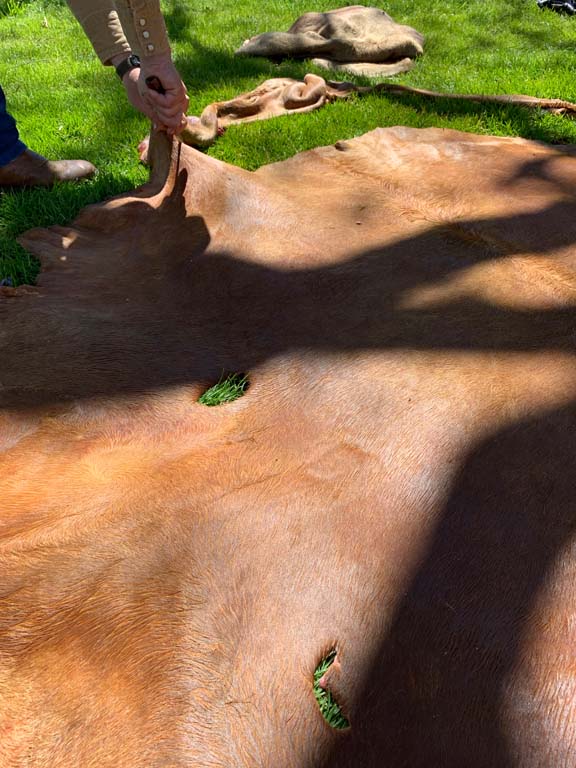
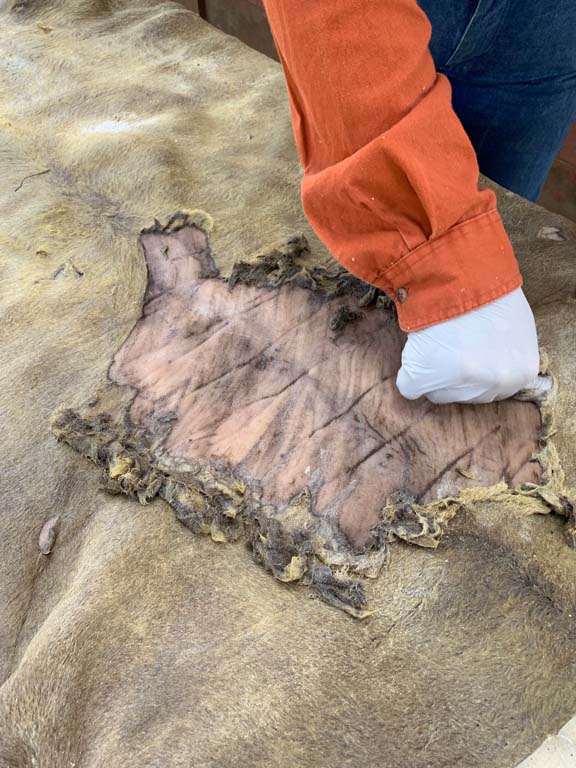
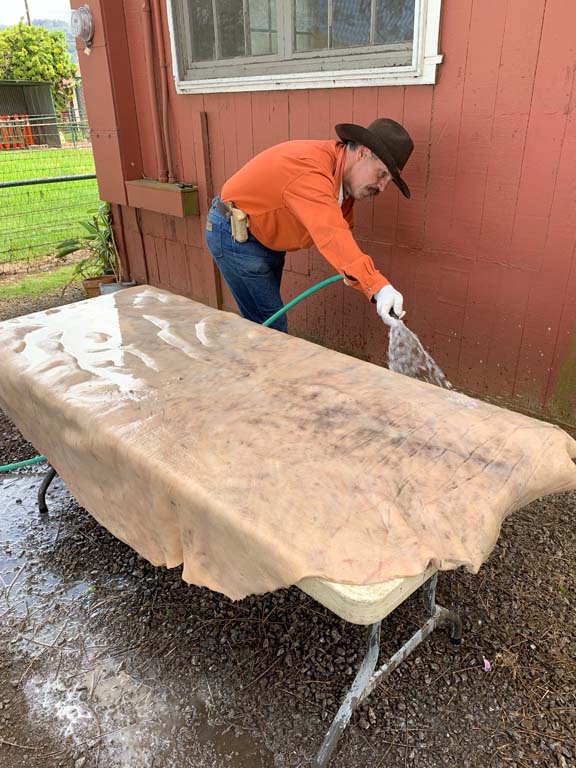
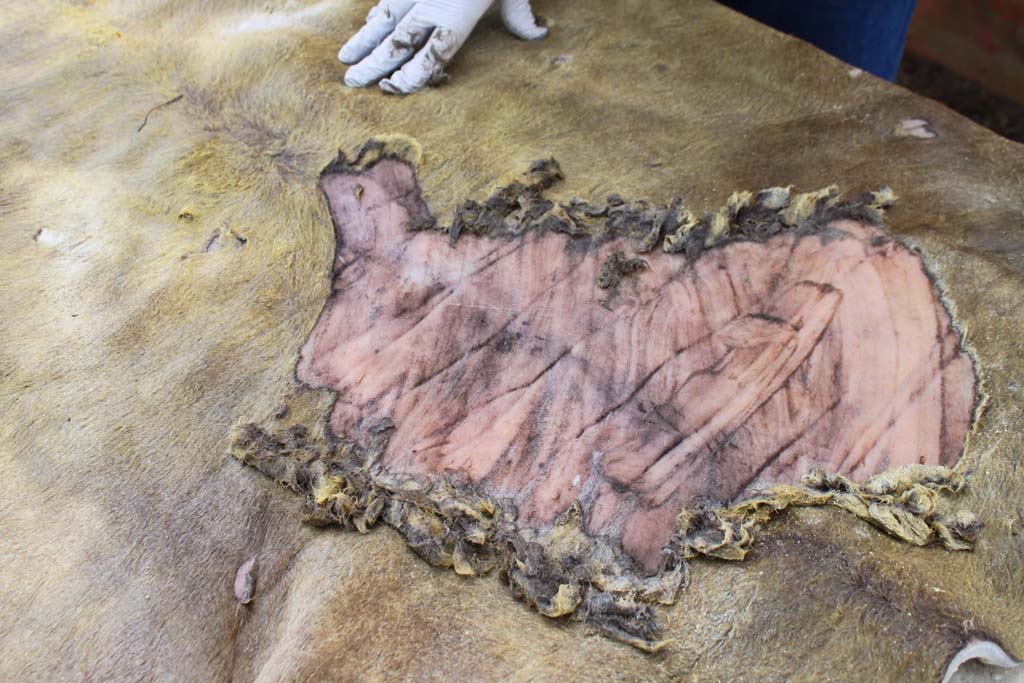
The hide is then taken out of the bath and placed onto a flat surface where it is washed off with fresh water. Now comes the dehairing which is made easier after the hide has sat in lime. Using rubber gloves, all of the hair is removed using a back and forth motion with slight pressure. This time of year, there is less hair on the hide (yes, even in Hawaii, we have signs of seasons!).

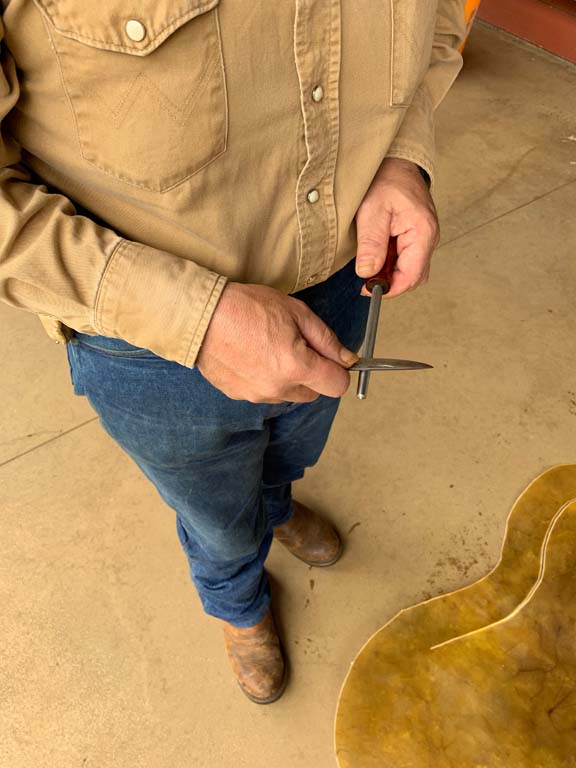
See these knives? Bill made one, and his best friend’s grandfather made the other one!
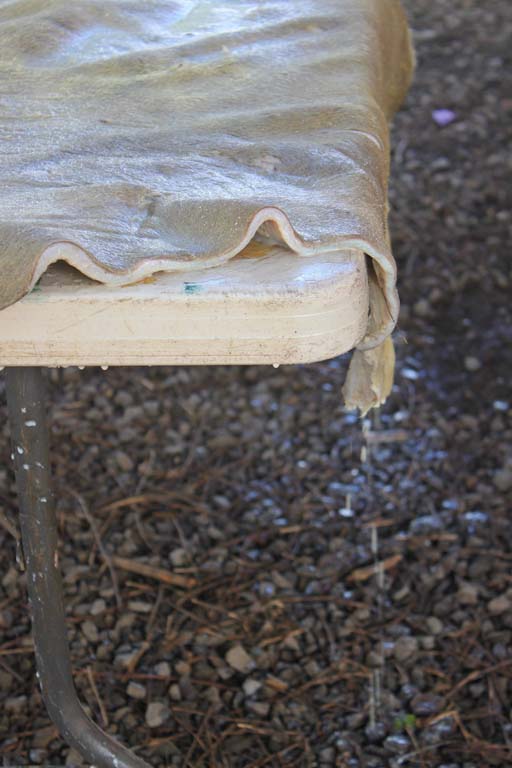
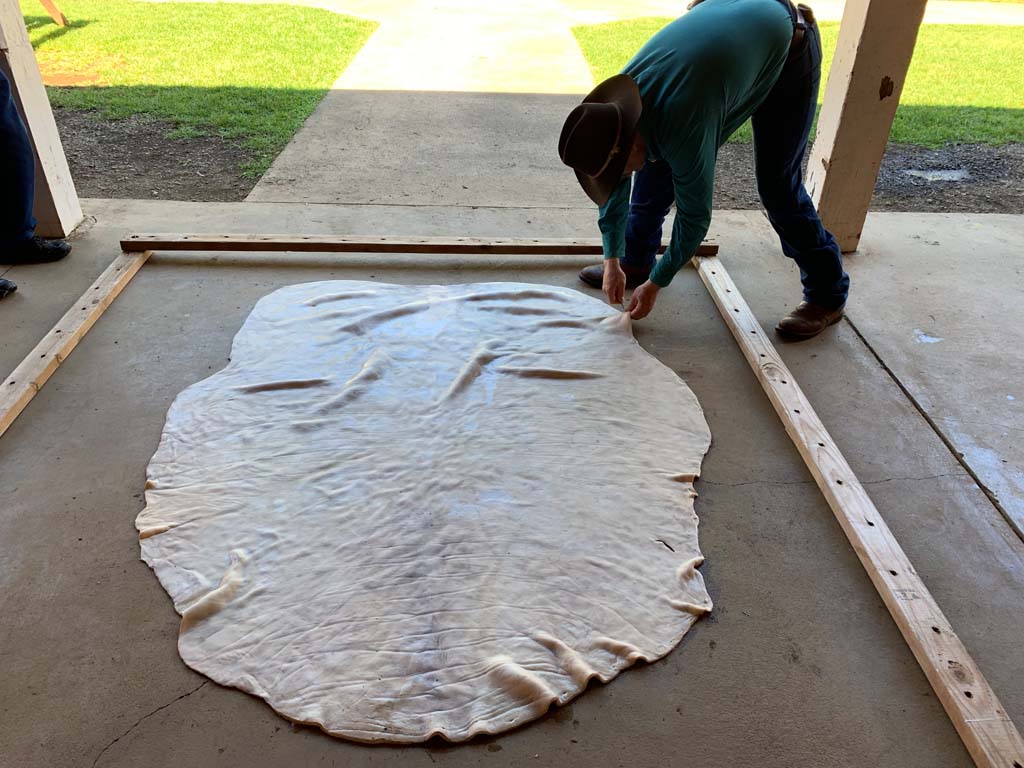
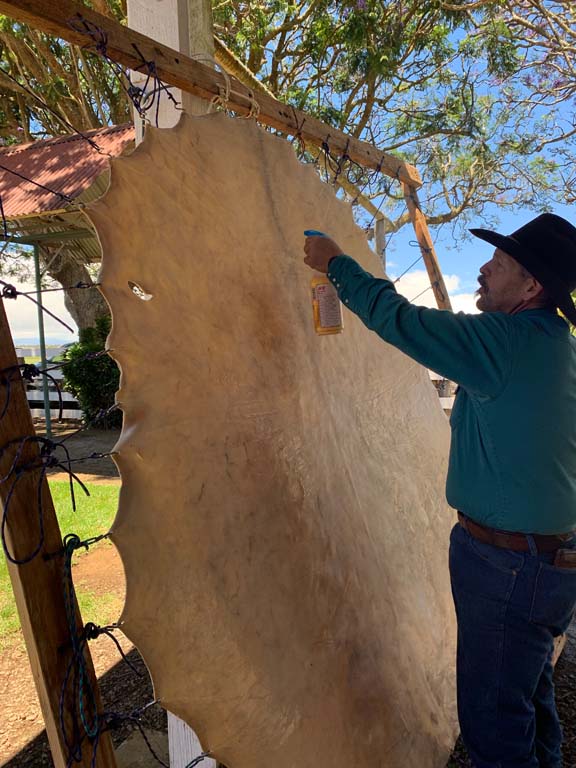
The hide is placed into a neutralizing bath of water and vinegar before it is stretched. The balance of sun exposure and amount of vinegar is key, as too much exposure might change the color and might shrink the hide too quickly. After the hide has soaked for a day or two, it is time to be racked in a well ventilated, covered area.
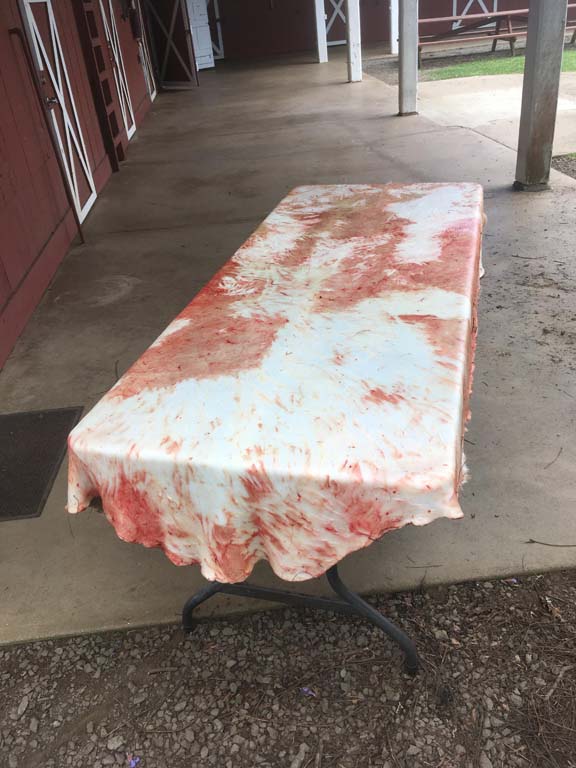
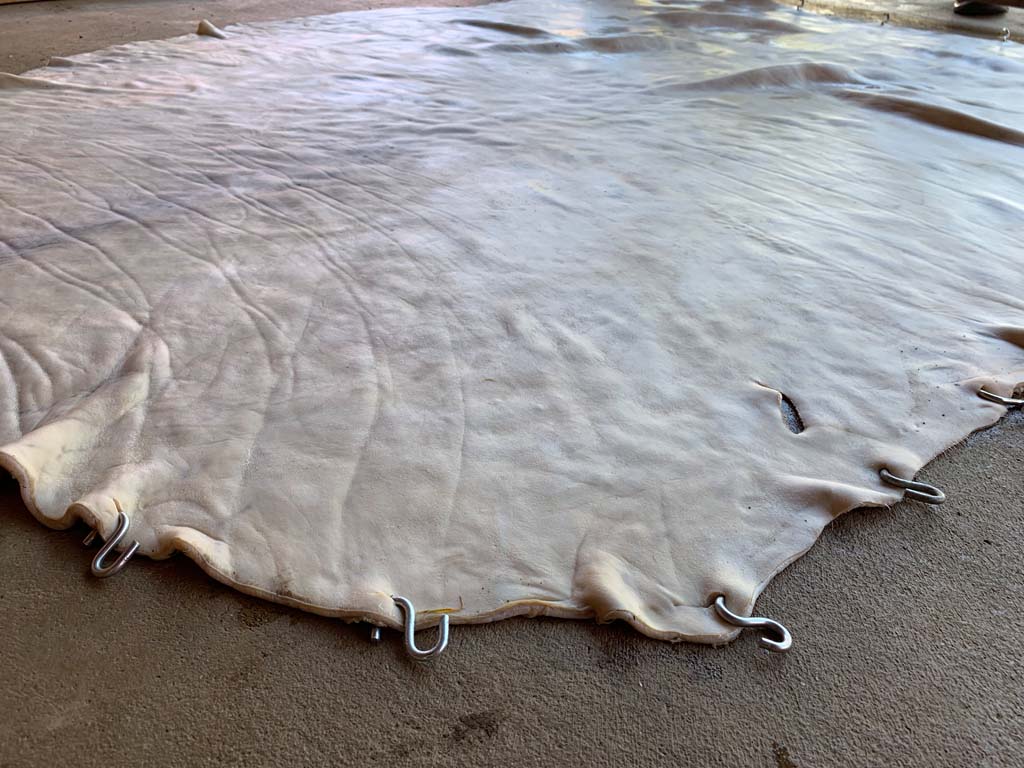
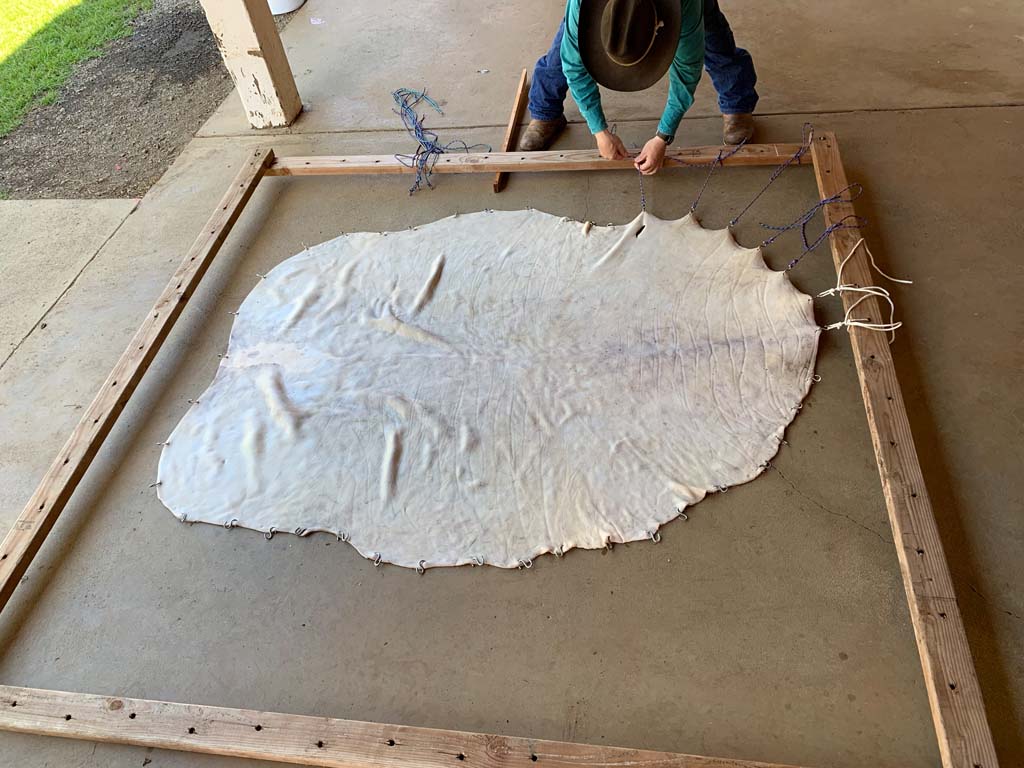
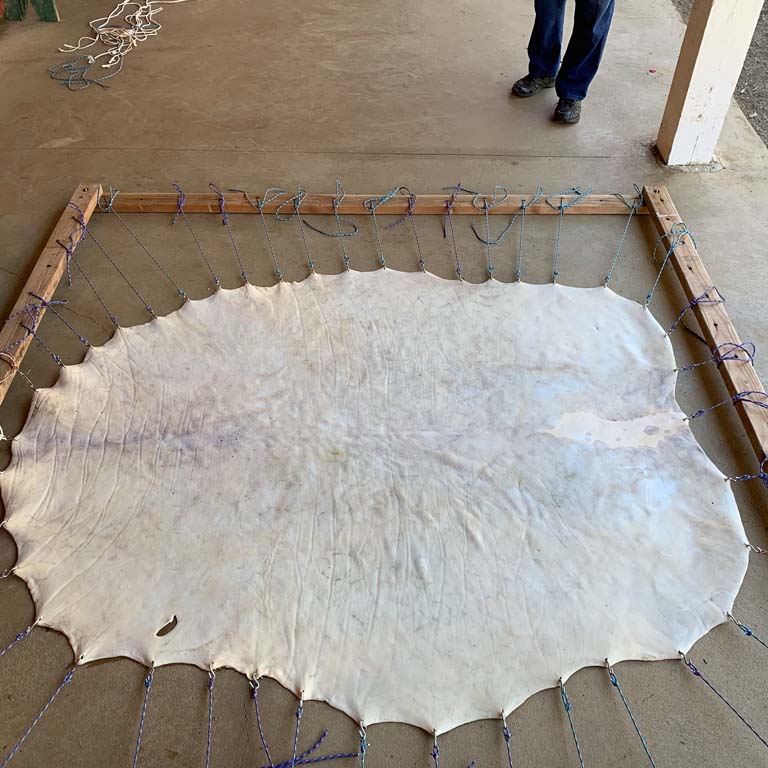
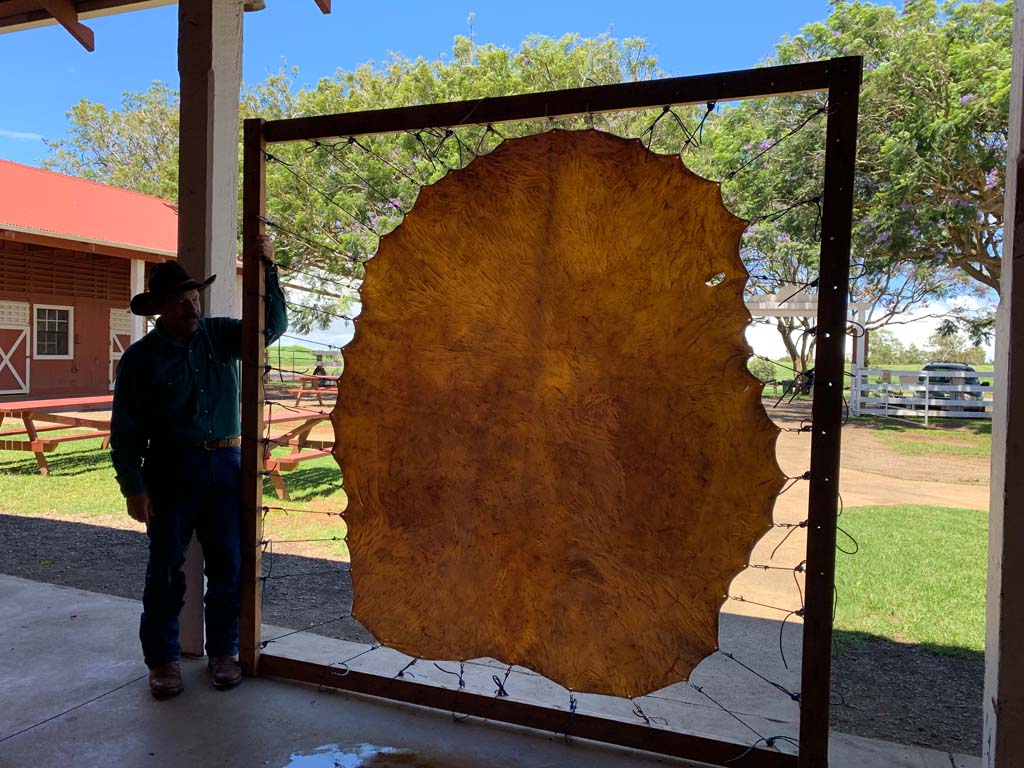
The hide is then placed on an 8’x8’ frame and holes are placed around the perimeter of the hide, about six inches apart and offset so they won’t weaken the frame. The hide gains about two feet in total width from stretching!
After the hide has had a chance to cure for a while (between three and ten days depending on conditions), it is then removed from the frame and the real fun begins!
Cutting the Hide

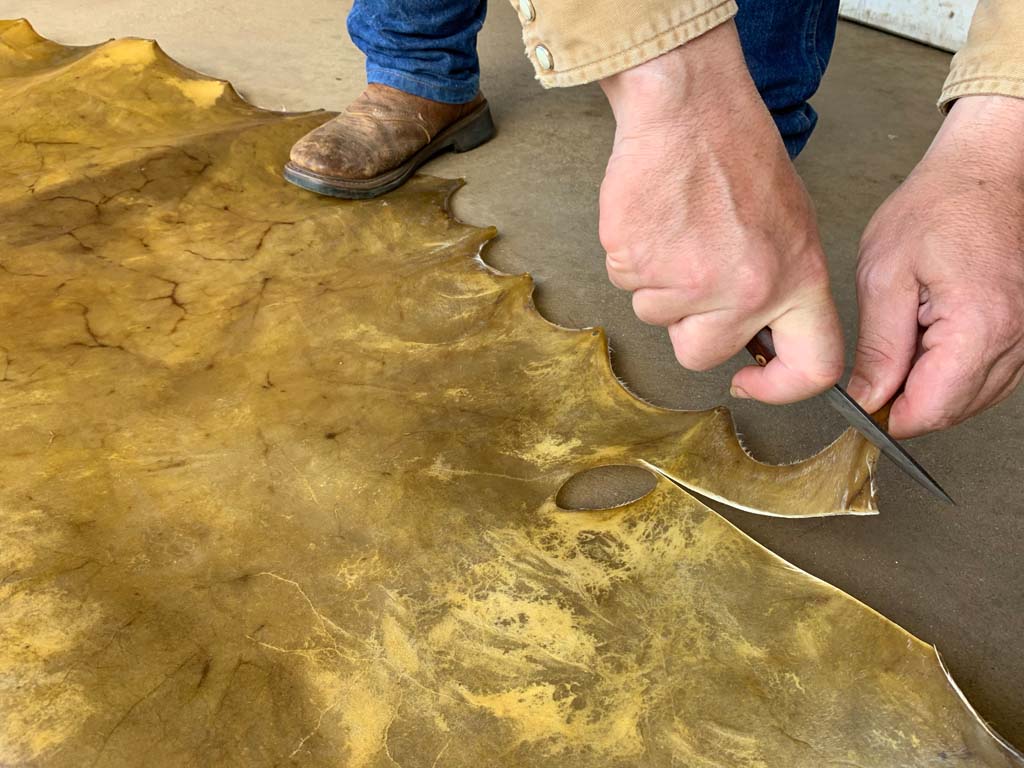
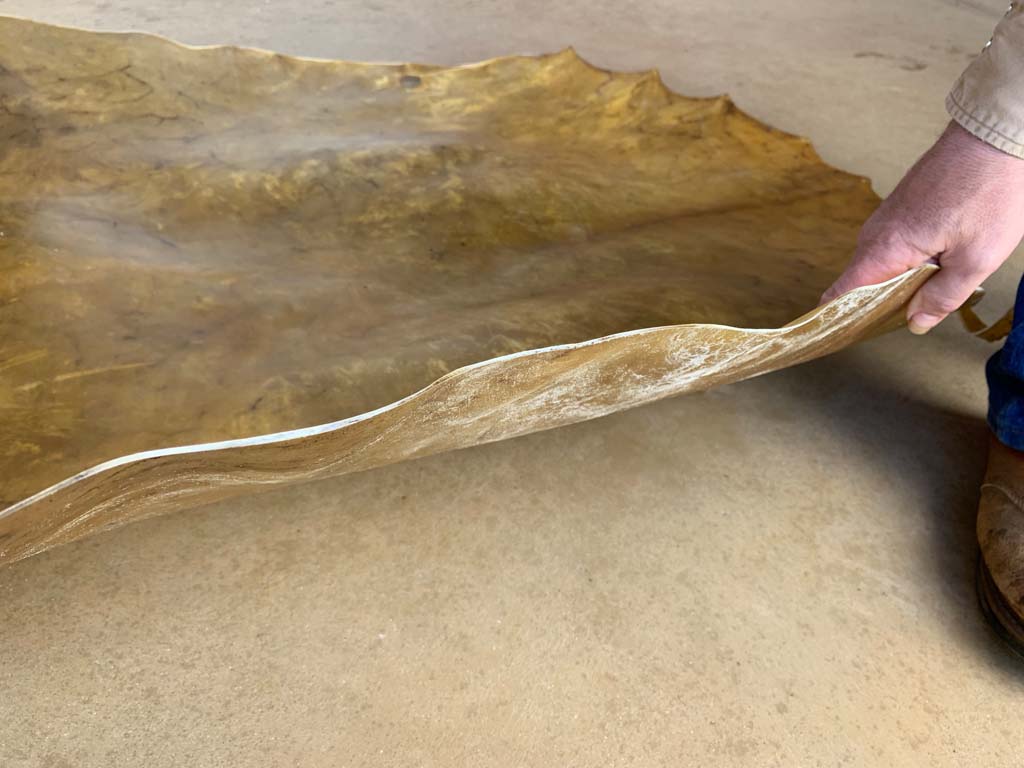
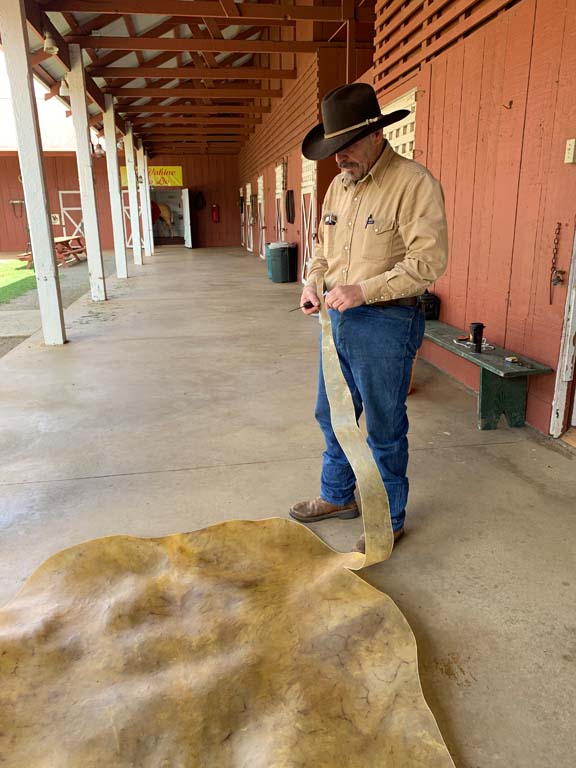

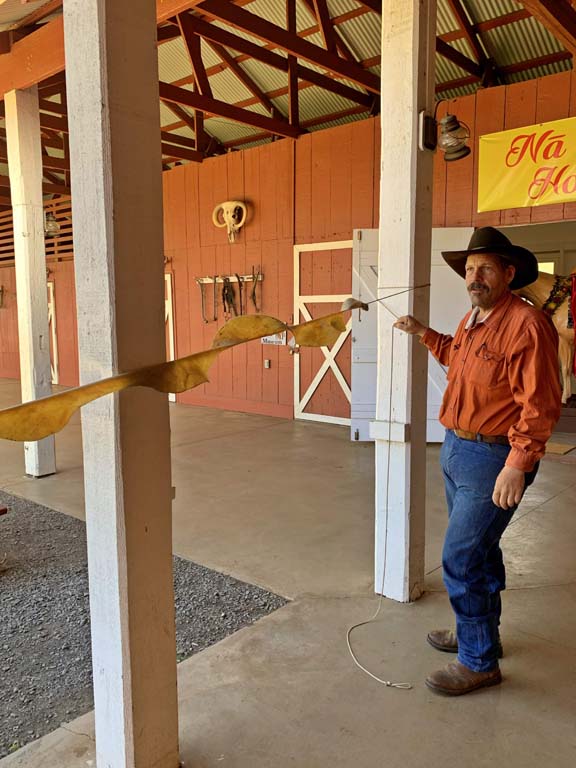
Cutting the hide into one continuous strand of equal length (3.5 inches wide is ideal) and thickness is no small feat. Working in a circular motion, one long strip of hide is created, this one measured 70 feet.
As a general rule, if you start with 100 feet of stringing, you will end up with about a 60-foot rope once all is said and done.
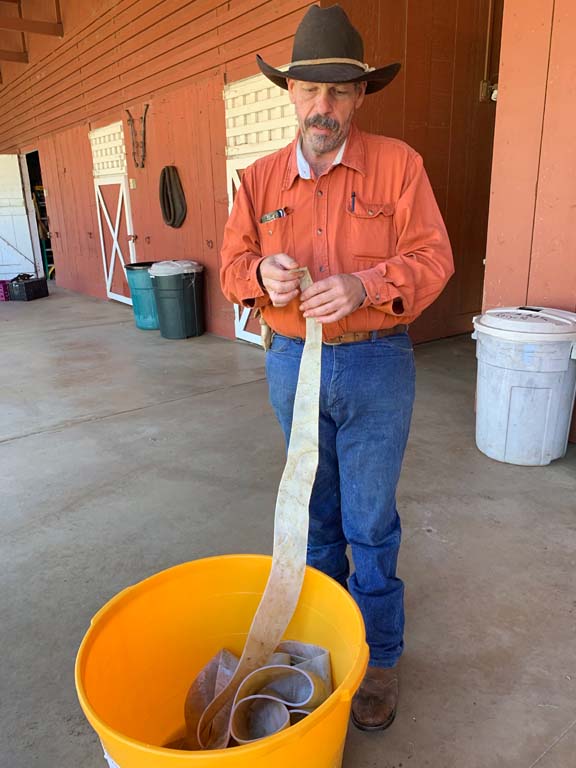
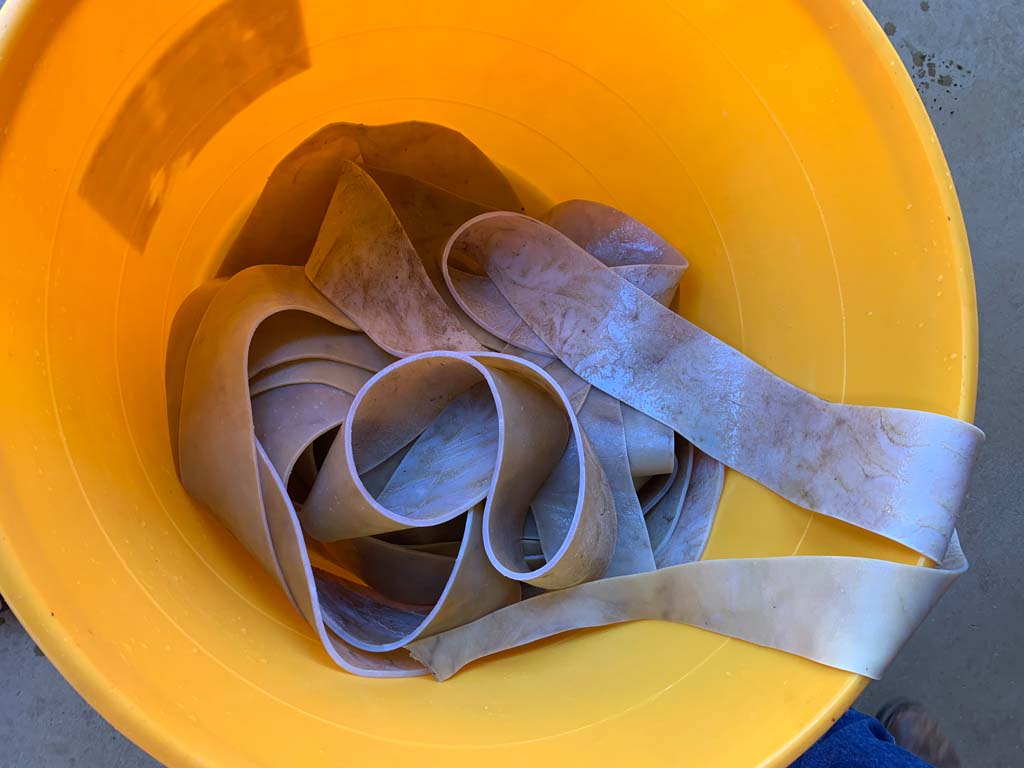
Once the strip is cut, it is placed back into a soapy water bath to get the temper “just right” (Editor’s Note: it feels a bit like a very thick lasagna noodle once it is taken out of the bath!).
Based on the width of the strip, one can either make a four or a six strand Kaula Ili. Based on the length and thickness of this hide, it was determined that a four strand Kaula Ili is the best option, as it will have the most strength and flexibility.
“You have to work with the hide as an individual and the hide will work with you.” Bill shares.
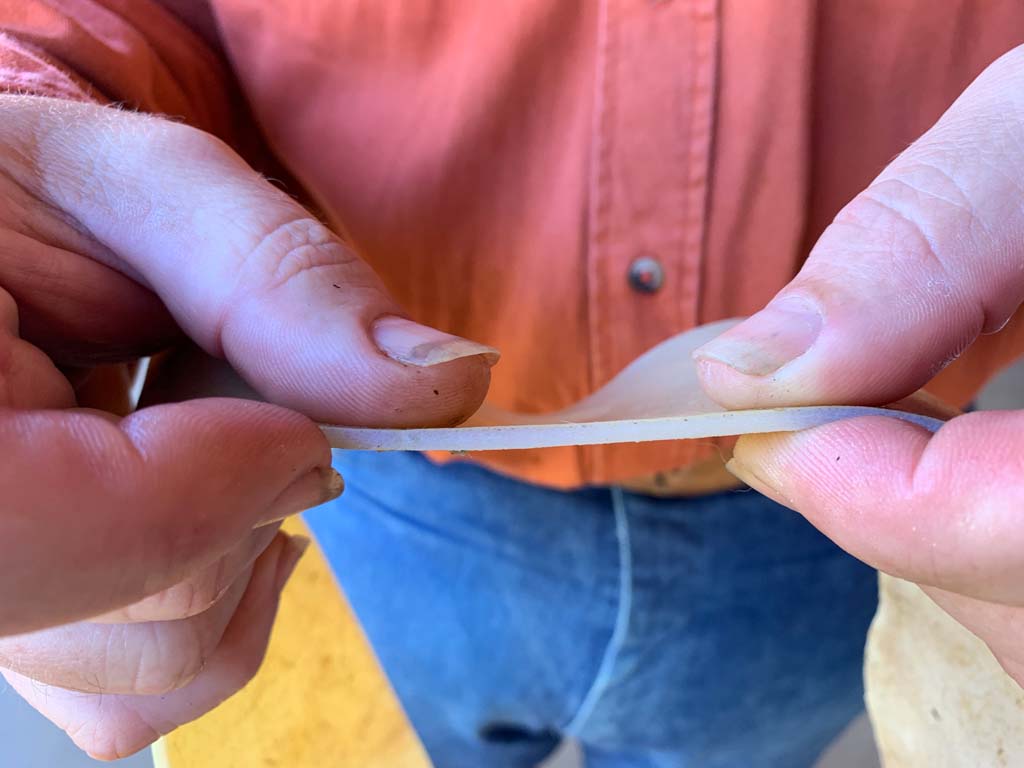
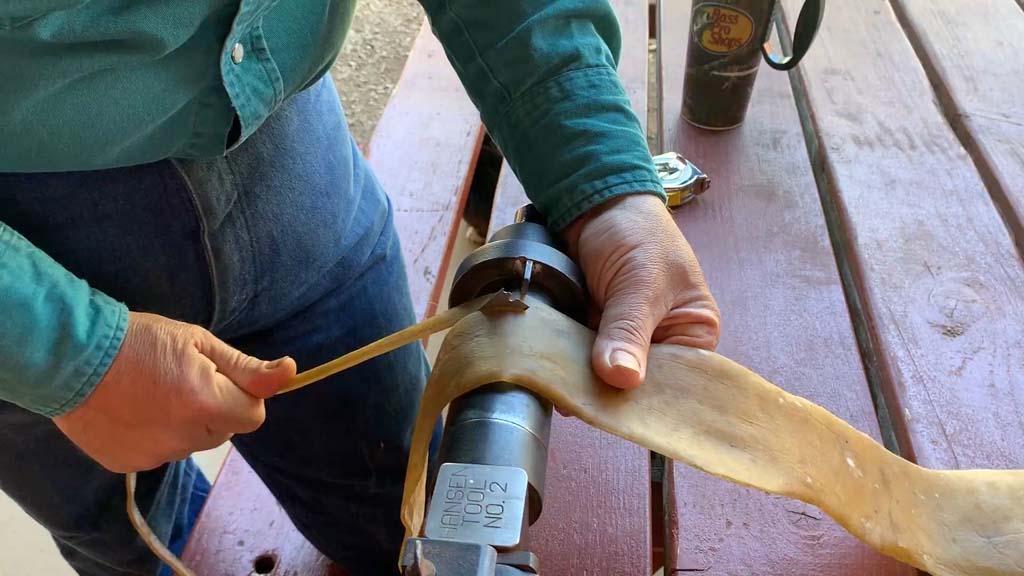
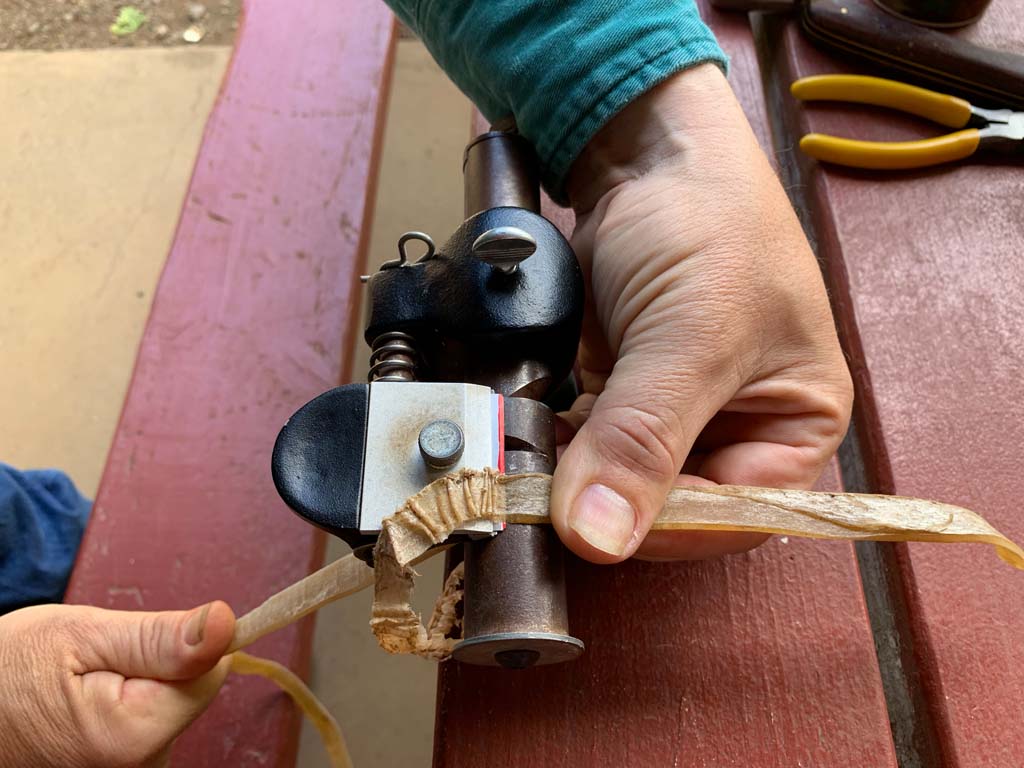
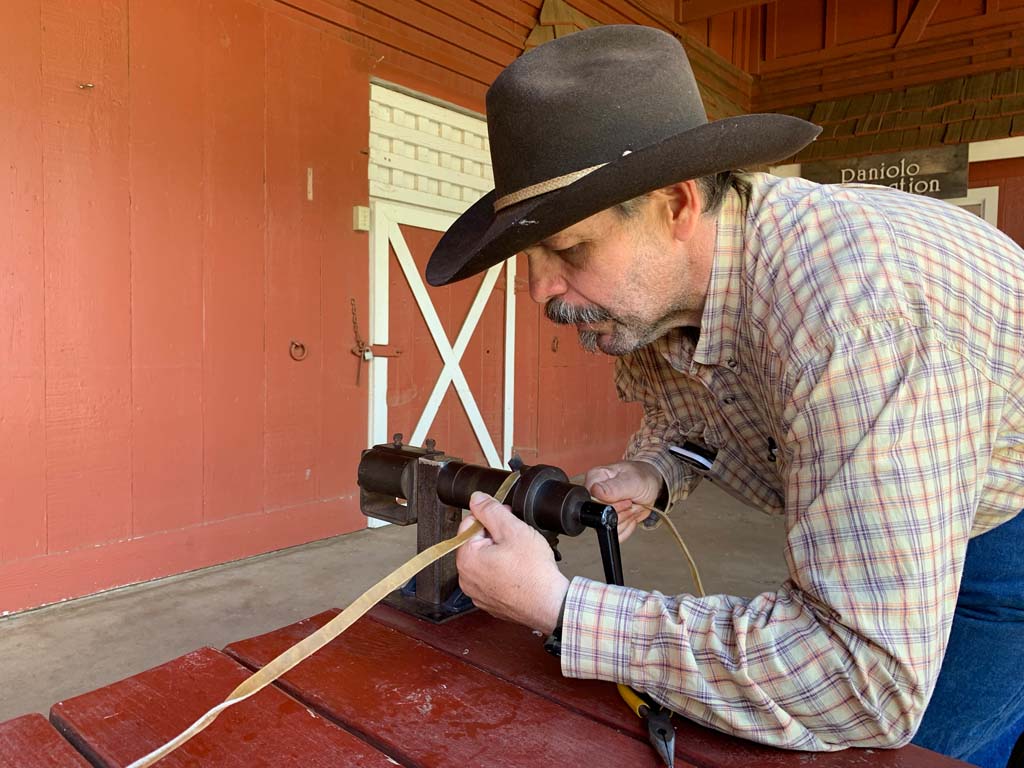
The strip is then placed into a string cutter in which tension is adjusted based on the width and the thickness. At this point we are aiming for ½ inch strands. If we were in a more arid environment, we would need to place the strip back into the temper bath, but because we have the right ratio of sunshine to humidity, we are able to keep it out of the temper for the cutting portion of this process.
Time to Braid and Finish!


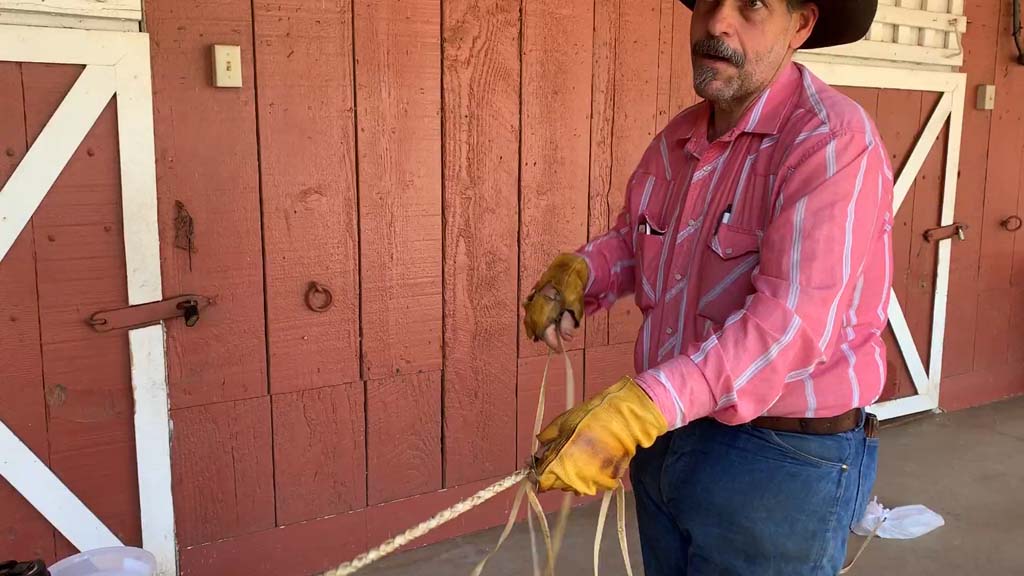


As the braiding begins, the hide is continually tempered with a mixture of saddle soap, washboard soap and ‘ape aila (tallow).
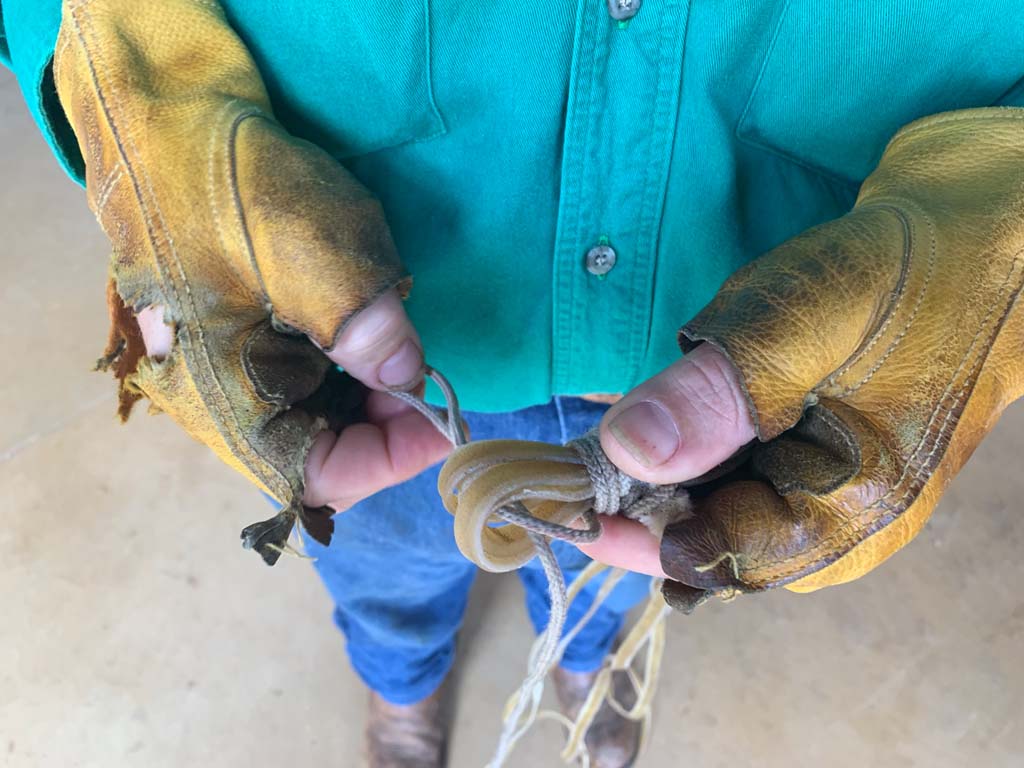
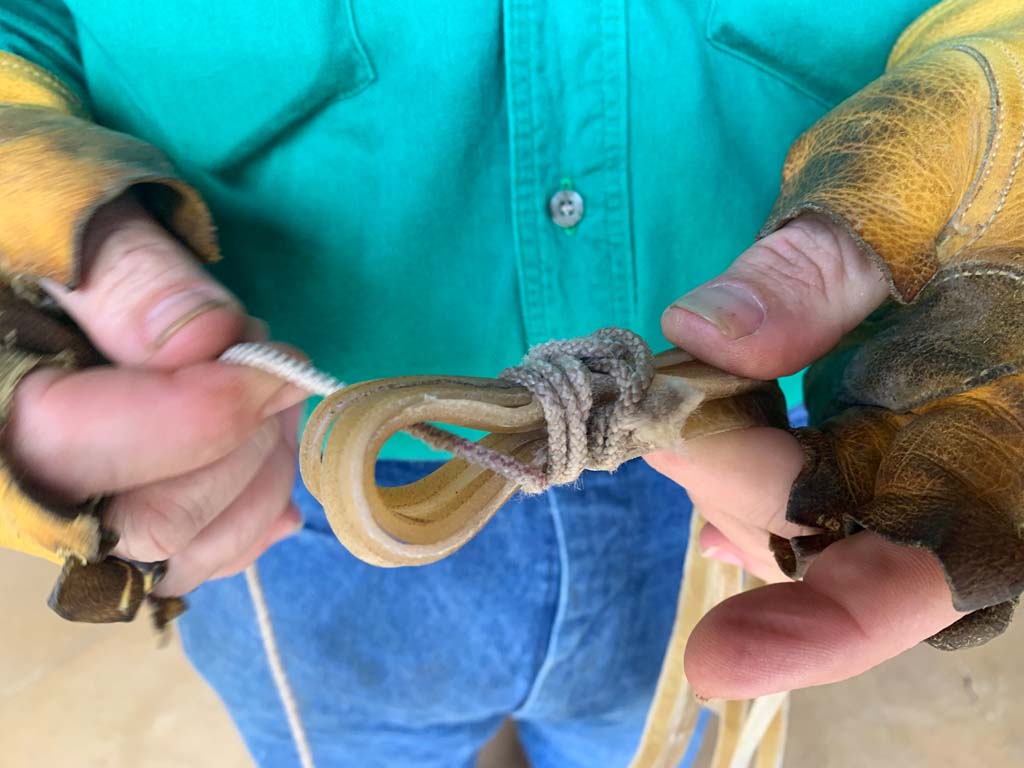
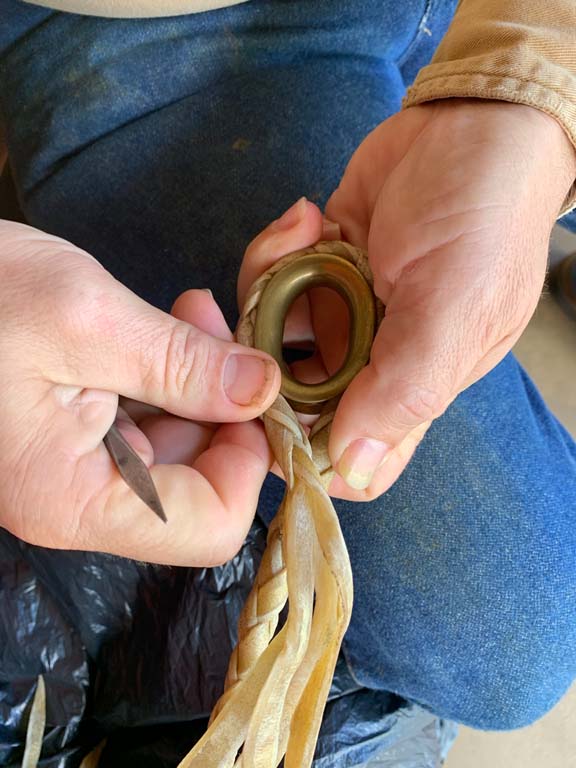
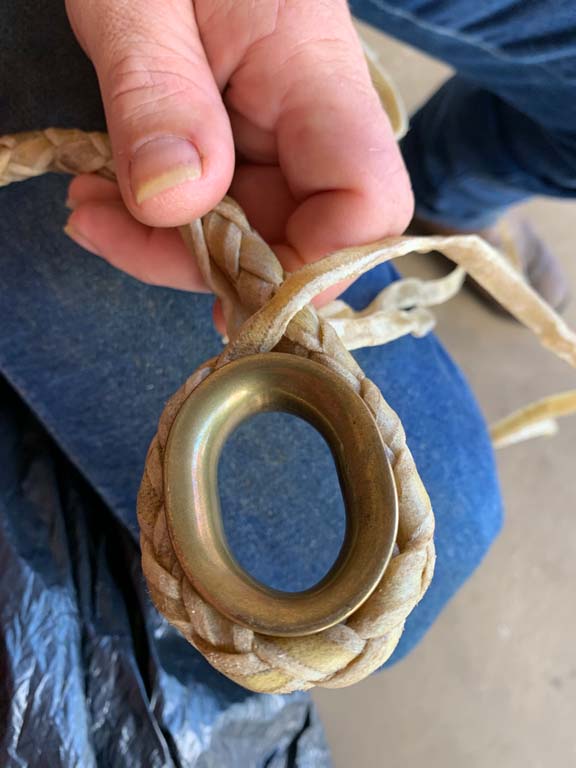
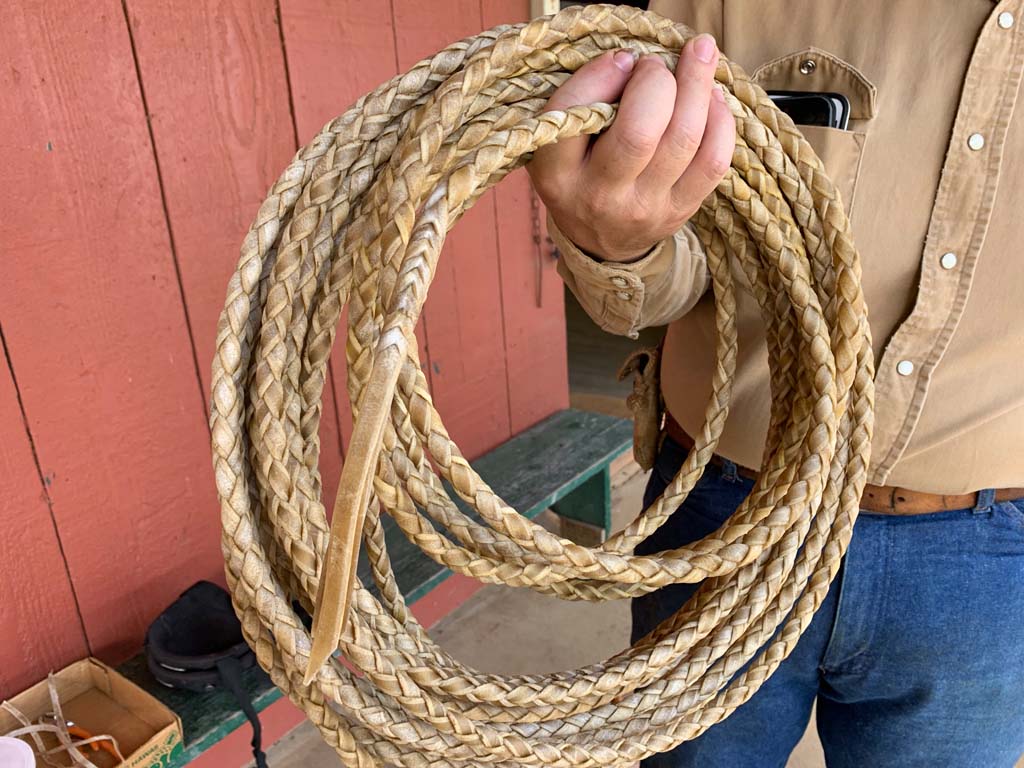
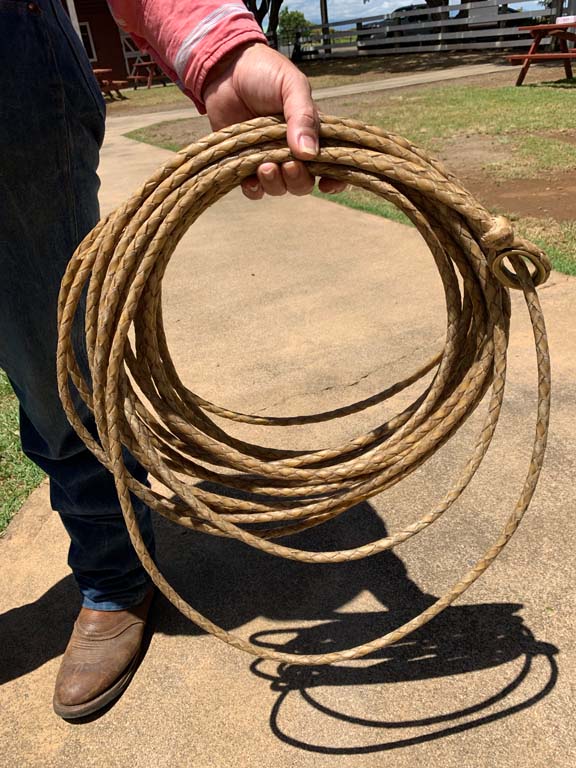
The ring is added to the Honda using a terminal knot. Using a rope ring is very common in the Paniolo culture as not only does it add weight, but because of the windy and wet weather. The ring end of the rope is the Kipuka, and the Piko is the other end.
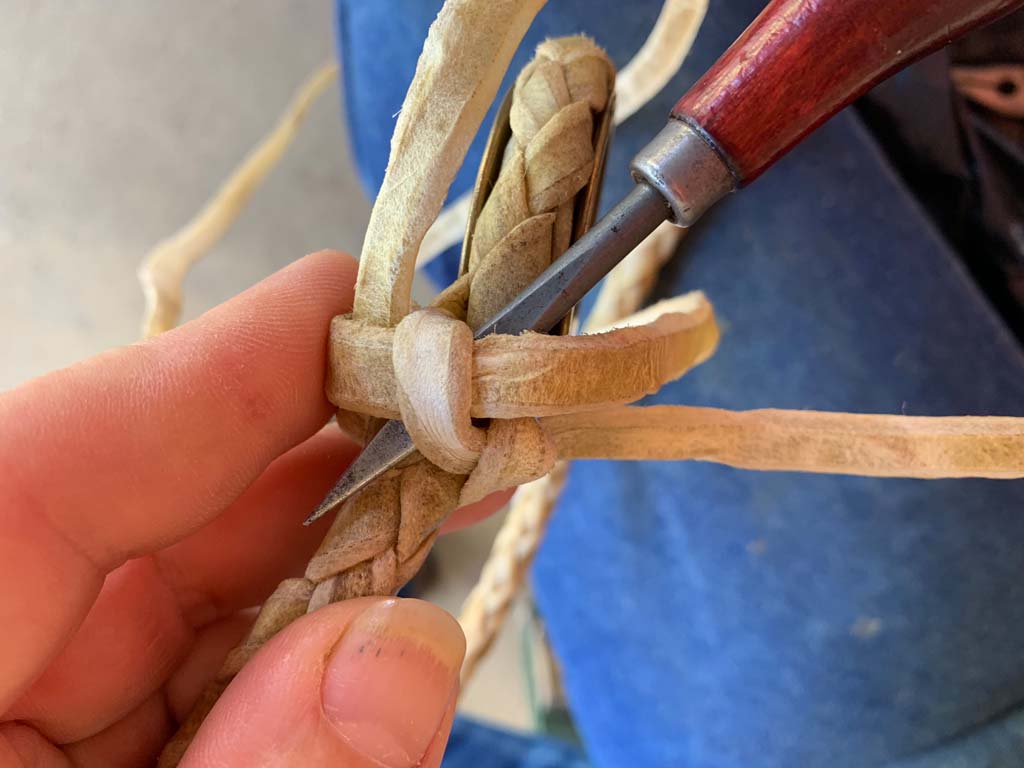
Once the Honda is on, the braid is finished off with a blood knot (or a bleeders knot) with the top strand spliced and then weaving the other three strands into it.
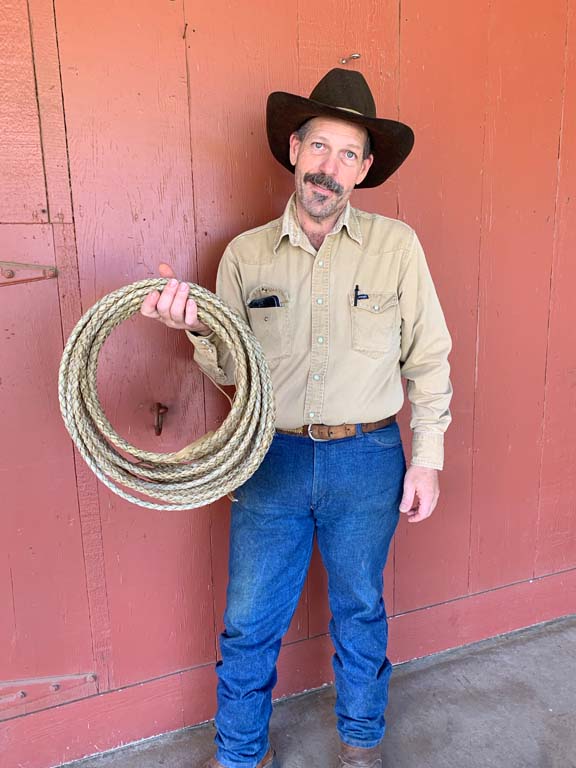
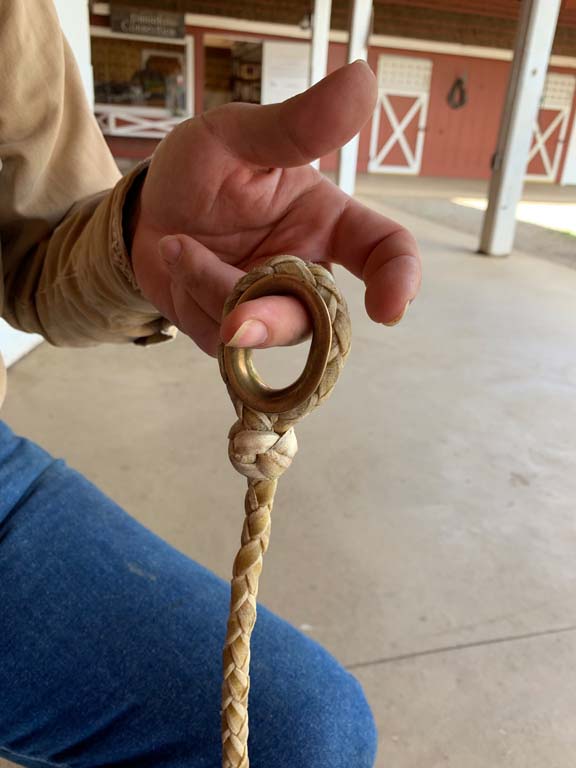
The Kaula Ili is almost complete. Now, it is stretched out once more and coated with a mixture of beeswax and tallow. “Here in Hawaii, we oil our rawhide to keep the moisture out, in a more arid climate, we oil to keep the moisture in” shares Bill.
What a journey this has been! Not only is it a great visual reminder of the painstakingly meticulous effort that goes into virtually everything that the Paniolo uses as his gear, but it also illustrates that which the Paniolo Preservation Society is preserving and perpetuating, the Heritage of the Paniolo.
Would you like to see the Kaula Ili for yourself? Stop by the Paniolo Heritage Center Monday-Saturday from 9:00 a.m.-2:00 p.m. We hope to see you soon!
